


As winter fades and spring approaches, gardens across the UK begin to fill with birdsong again. Nesting season is one of the most exciting times for wildlife lovers. However, before birds move in, your bird box needs to be safe, clean and properly positioned.
In this guide, we’ll show you exactly how to prepare your bird box for nesting season, including whether you should remove old nesting material, how to position your box correctly, and even how to make a bird box from scratch.
No matter if you’re new to bird watching or a seasoned enthusiast, a little preparation can make a big difference.

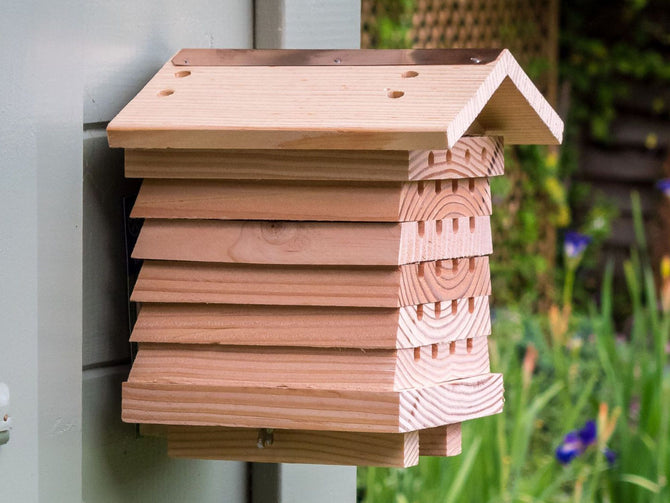
How to make a bird nesting box
For DIY enthusiasts, building a bird box can be a fun and rewarding project. Here’s a simple way to create one:
What you’ll need:
-
Untreated, FSC-certified timber (about 15–20mm thick)
-
Galvanised screws or nails
-
Saw, drill and measuring tape
-
Sandpaper
-
Hinges (optional, for a side-opening panel)
How to build it:
-
Measure and cut your timber to make the base, sides, back, front and roof.
-
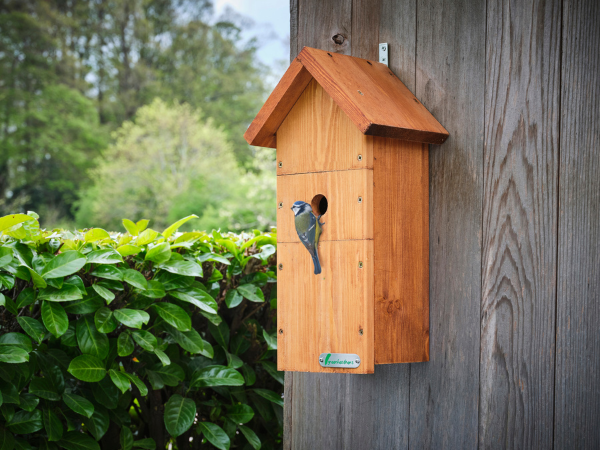
Drill the entrance hole in the front panel: 25mm for small species like Blue Tit, 28mm for Great Tit and House Sparrow.
-
Add small drainage holes in the base and narrow ventilation gaps near the roofline.
-
Assemble the box with screws or nails, making sure everything is secure.
-
Optional: Add a hinged side panel for easy cleaning outside of nesting season.
-
Mount 2–4 metres high in a sheltered spot, facing north or east.
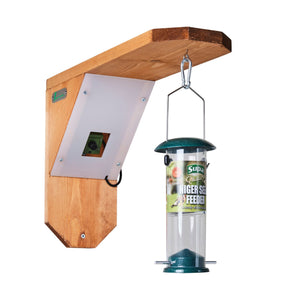
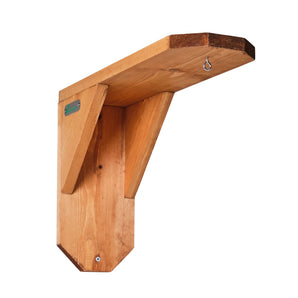
While making your own bird box is rewarding, a quicker and easier option is a high-quality, pre-made bird box. These are eco-friendly, naturally finished to blend beautifully into your garden, and built from high-quality wooden planks to last year after year. Each box comes with the correct entrance size, ventilation and predator protection – giving birds a safe home without the DIY hassle.
When is bird nesting season in the UK?
Most garden birds begin nesting between March and August, though some species may start earlier depending on weather conditions. Birds begin scouting for suitable nest sites weeks before laying eggs, which means late winter (January–February) is the ideal time to prepare your bird box.

Should I remove an old nest from a bird box?
This is one of the most common questions we’re asked. The answer is yes, in most cases you should remove the old nest from your bird box. Leaving old nesting material in your bird box can:
-
Harbour parasites such as mites and fleas
-
Lead to damp and mould growth
-
Result in leftover debris that can reduce insulation and hygiene
Once the nesting season has finished and you are certain the box is empty (typically autumn or early winter), carefully remove all old material and clean the interior.
Remember, never open or disturb a bird box during active nesting season. It is illegal to intentionally disturb nesting wild birds in the UK.
How to clean a bird box properly
In order to clean your bird box properly ahead of nesting season, we recommend:
-
Waiting until autumn or early winter
-
Wearing gloves
-
Removing all old nesting material
-
Using boiling water (no harsh chemicals) to disinfect
-
Allowing the box to dry completely before resealing
-
Avoiding strong cleaning products, as residue can harm birds or discourage them from returning
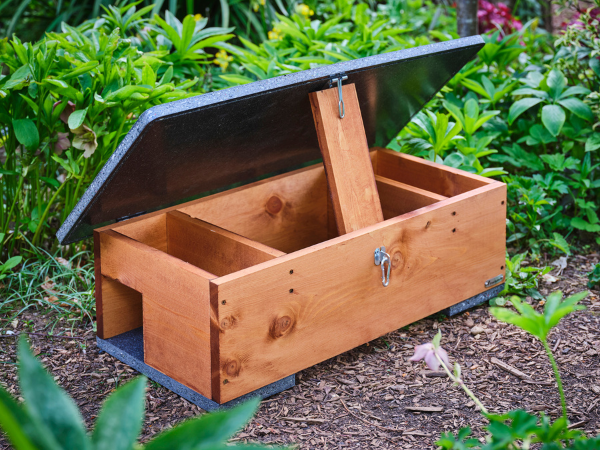
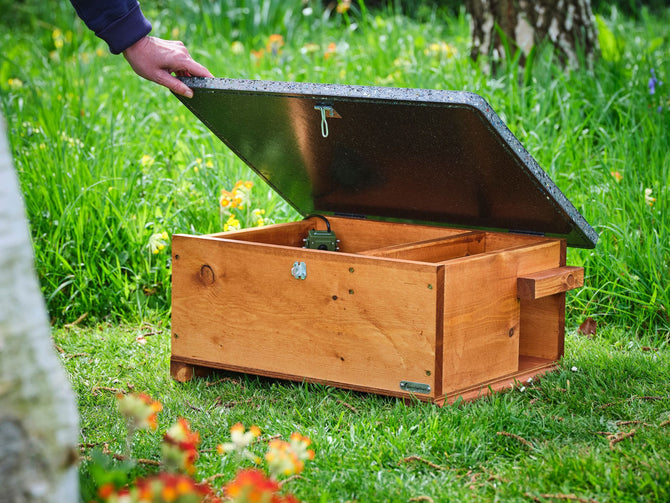
Green Feathers bird habitat accessories feature biological cleaners and brushes that are specially designed to clean your bird box or bird feeder without harming wildlife.
Positioning your bird box correctly

Where you place your bird box is just as important as how you prepare it. For best results:
-
Mount 2–5 metres above ground
-
Face between north and east
-
Avoid direct midday sun
-
Keep away from heavy foot traffic
-
Ensure a clear flight path to the entrance
Positioning your box in a sheltered location improves occupancy rates and chick survival.
Should you add anything inside your bird box?
No. Birds bring their own nesting material. Adding hay, fabric or synthetic materials can introduce moisture or harmful fibres. A clean, empty box is all that’s needed for birds to create their own ideal home.
Enhancing your bird box for nesting success
To encourage birds to return year after year:
-
Install boxes well before spring
-
Provide natural cover nearby (shrubs, hedges)
-
Avoid using pesticides in your garden
-
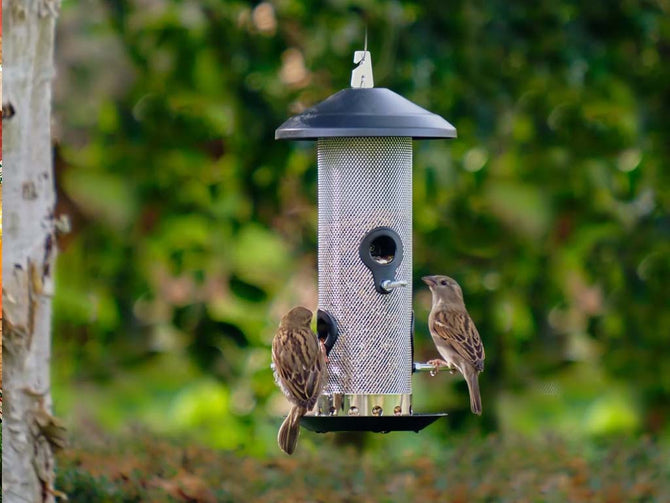
Offer bird feeders and fresh water sources
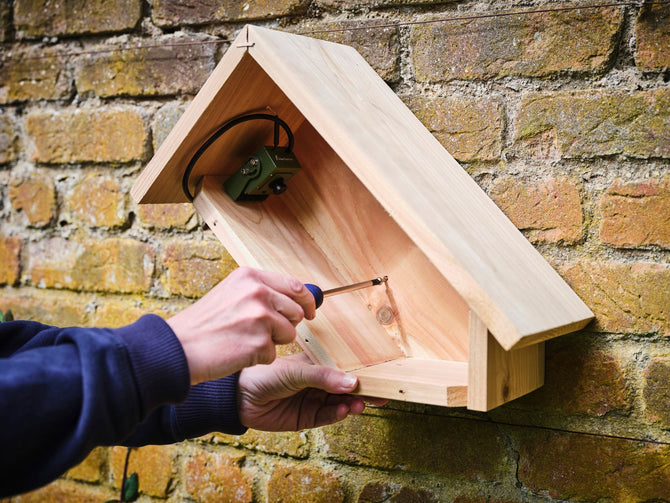
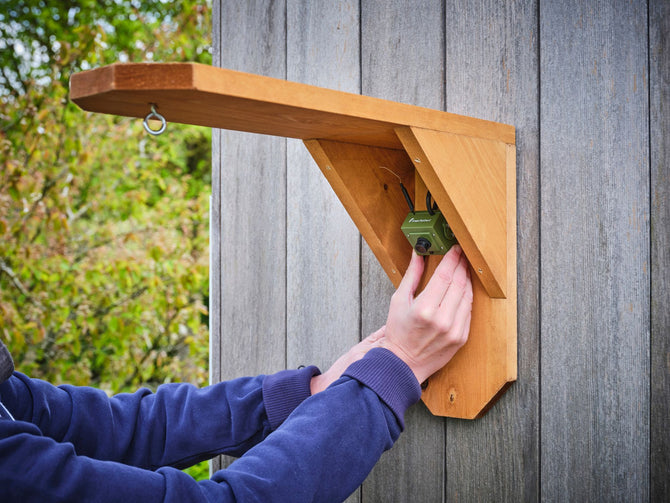
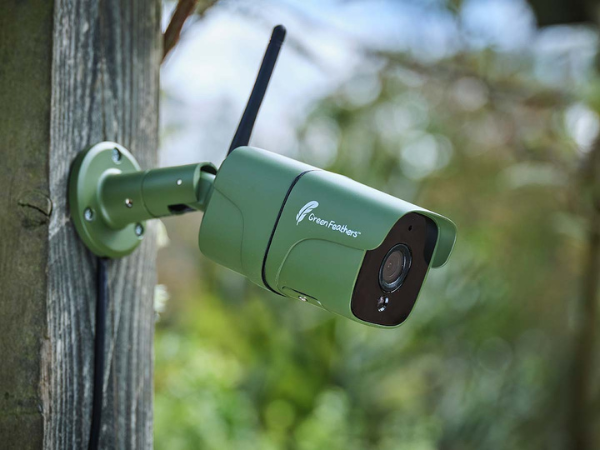
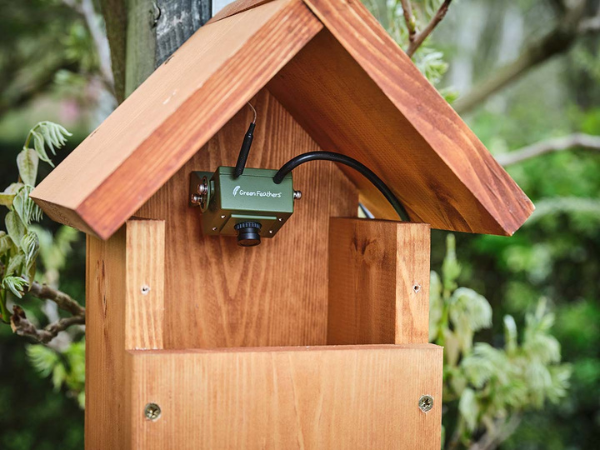
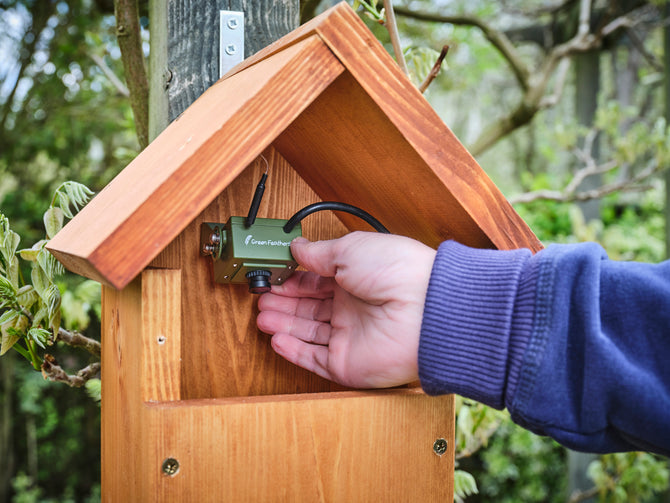
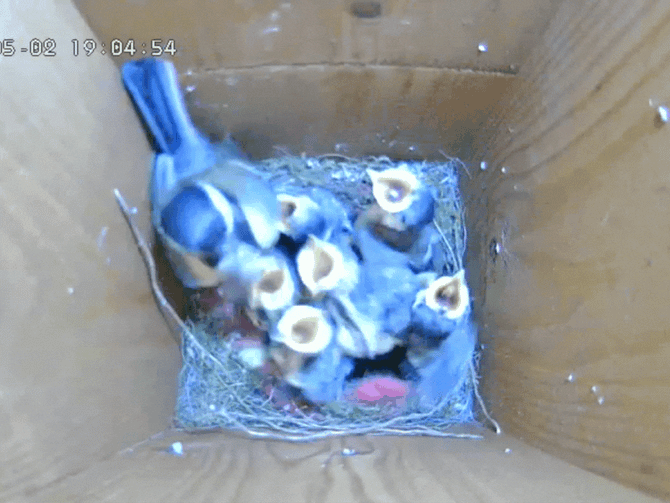
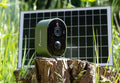
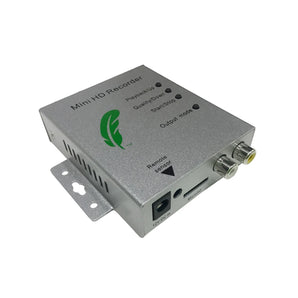
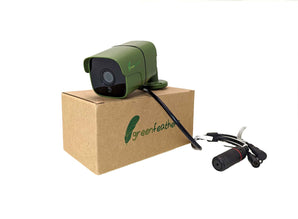
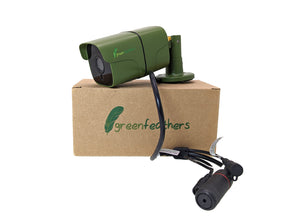
Monitoring nesting behaviour with a wildlife camera can also provide valuable insight into species patterns without disturbing them.
Common bird box mistakes to avoid
Here are some of the most common mistakes we see when it comes to prepping a bird box for nesting season:
-
Leaving old nests inside
-
Cleaning with chemical products
-
Installing too low to the ground
-
Facing the box into strong sun or prevailing wind
-
Checking the box too frequently during nesting
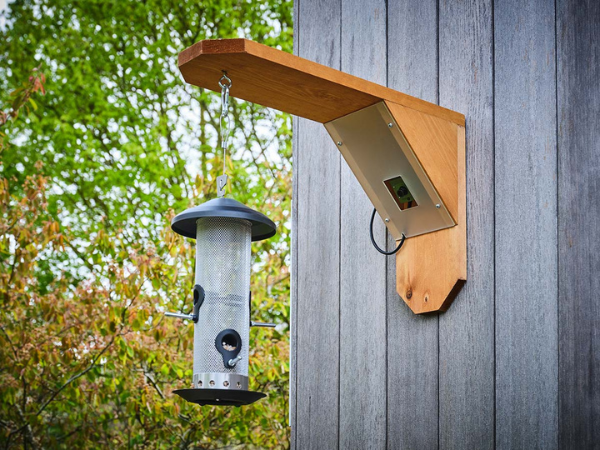
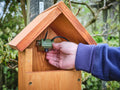
Birds prefer quiet, undisturbed locations. Once a nest is occupied, it’s best to observe from a distance. You can do this easily with a bird box camera, which allows you to observe your new feathered friends without disturbing them.
Preparing now means thriving later
Taking time to prepare your bird box properly gives garden birds the best possible start to nesting season.
Whether you’re learning how to make a bird box suitable to welcome nesting birds, or simply ensuring your existing box is clean and correctly positioned, small steps now can support healthy chicks in spring.
For more expert wildlife advice and bird-watching equipment, explore the Green Feathers blog and resources, or get in touch to learn more about the best bird watching equipment for you!


