
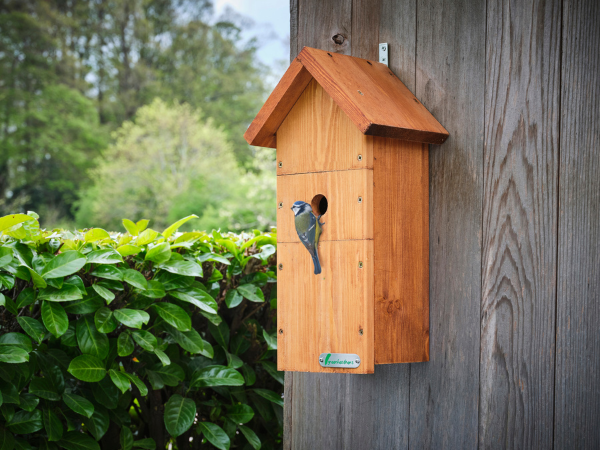


Installing a camera into bird nesting boxes is an excellent way to watch nature in your garden. Placing a bird box camera in your garden can provide you with amazing insights into the life of birds that is not usually seen. So, what should you consider when buying bird box camera and how do you go about installation?
Before you start
It is important to not disturb bird nesting sites during breeding season because this can cause the adults to abandon their young and damage the local population. Therefore, make sure you only install a camera into the box when you are sure it isn’t being visited by prospecting birds.
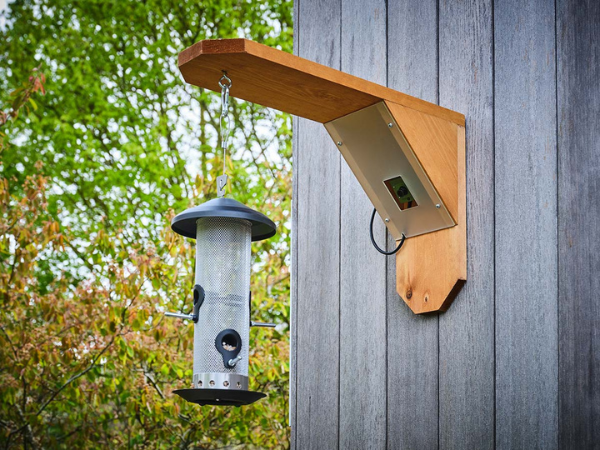
In our previous blog post, we mentioned a few tips on which type of bird box to buy and advice on positioning. The most important considerations are that the site of the bird box is relatively sheltered from prevailing weather and it isn’t in competition with other nests.
How far away is the nest from your house?
Before choosing the type of camera you need to work out the distance between the nest box and your viewing area. This is because wireless cameras have limitations in terms of range and it will also inform you how much cabling you need to run. Even wireless cameras need a power source, so measure the distance from the box to your TV, computer or network router.
Which type of camera to choose?
There are a few considerations to make when choosing which camera to use.
Budget
The cheapest cameras start from around £30. These are a great budget or gift option and are good if you are happy with a standard definition image. Obviously, these cameras will lack the best HD and true colour images. If you are willing to spend a bit more, you have a camera with HD images as well as the ability to watch on your smartphone.
Where do you want to watch?
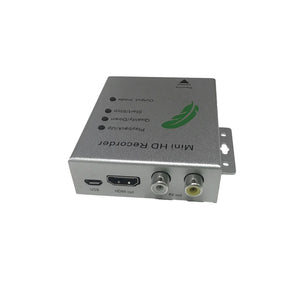
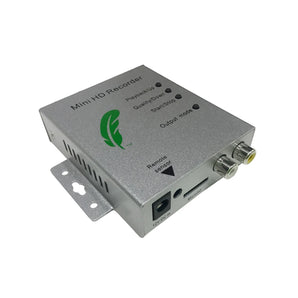
Basic kits allow you to simply watch live image on your TV. Adding in a capture device to the mix allows you to watch and record on your computer. More sophisticated cameras allow you to watch on your smartphone and tablet using an app wherever you are, as well as your computer.
Wired or Wireless?
Wired cameras offer reliability and more robust images, often for a better price. Wireless cameras provide the convenience of not having to run as much cabling, although they still need powering from the mains.
Wired cameras
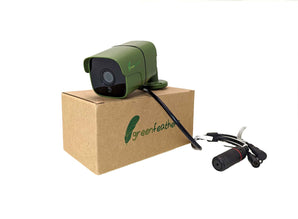
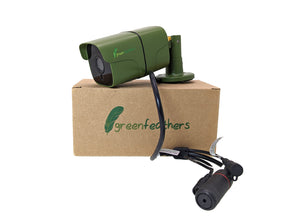
Wired bird box cameras feature long lengths of cable to ensure reliability and high-quality images, providing some of the sharpest video. That said, these cameras range from the most basic image quality to HD. The choice is yours and it just depends on your budget.
Wireless cameras

If you don’t want to run chunky cabling across your garden, then analogue wireless cameras are a potential solution around this. These cameras provide a range of up to 25 to 30 metres so if you need to transmit any further than this then you may wish to consider another option. Remember that wireless cameras still need to be powered by the mains. Another thing to be wary of is interference from other devices that use the same frequencies, such as Wi-Fi. Speaking of which…
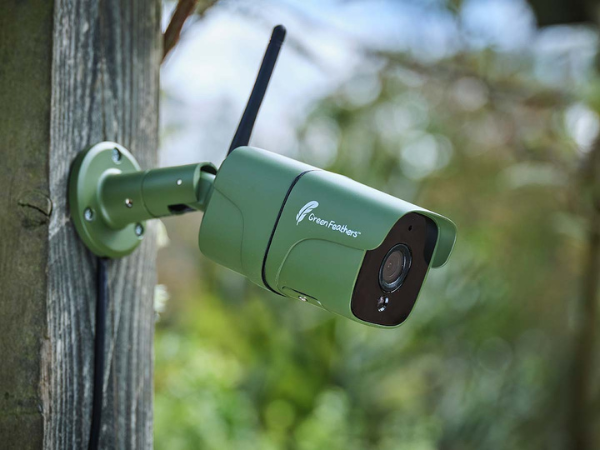
Wi-Fi camera
Wi-Fi cameras provide HD digital images without the risk of interference of traditional wireless cameras. This means you can simply connect the camera up to your Wi-Fi network. This allows you to watch on your smartphone, tablet and computer. On the app, you can watch the camera anywhere with an internet connection.

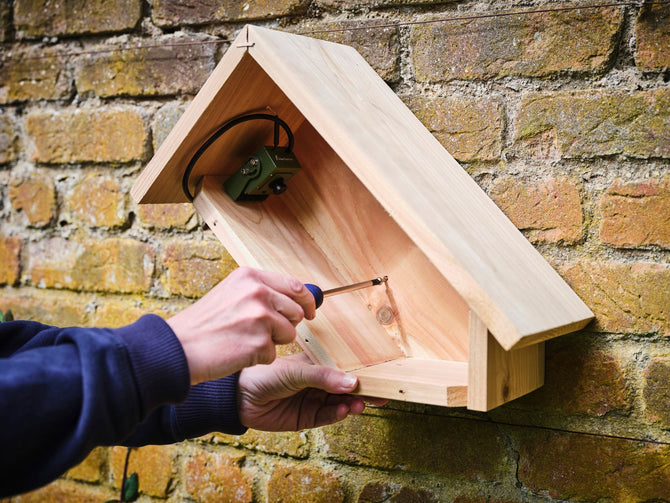
Installing into the box
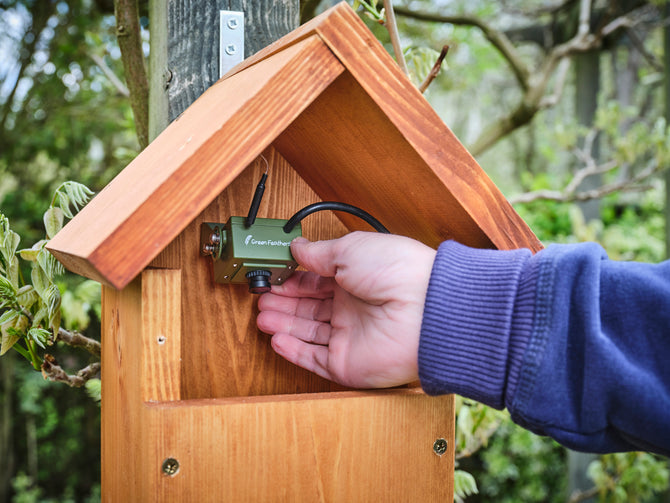
Make sure your camera kit is working before installing the camera into the nest box because it is much harder to troubleshoot any teething problems after this. Test your kit inside first and make sure that everything is working. After this, you can take the camera outside to the rough location of the box and make sure it is still working there.
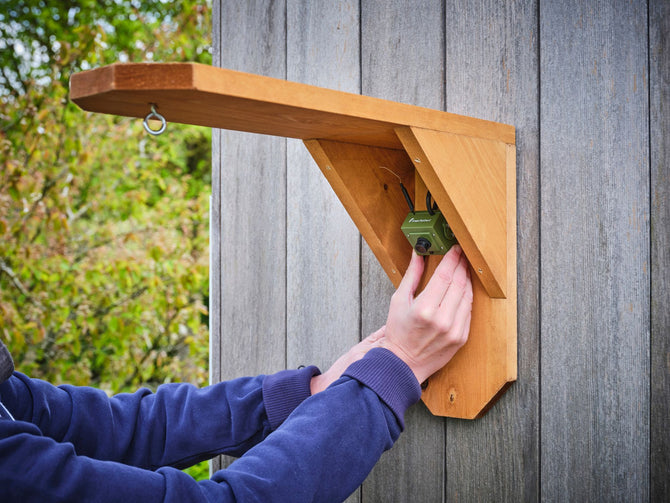
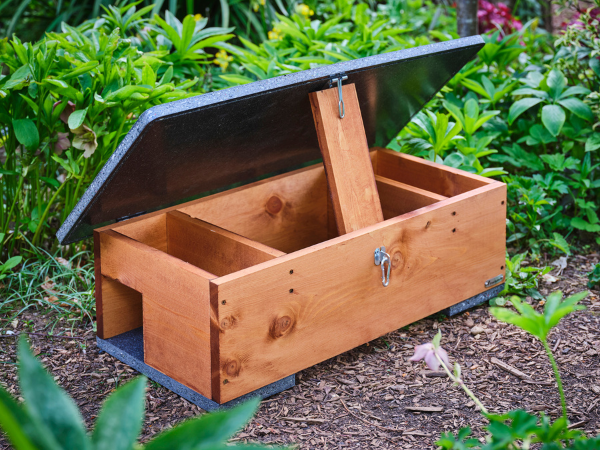
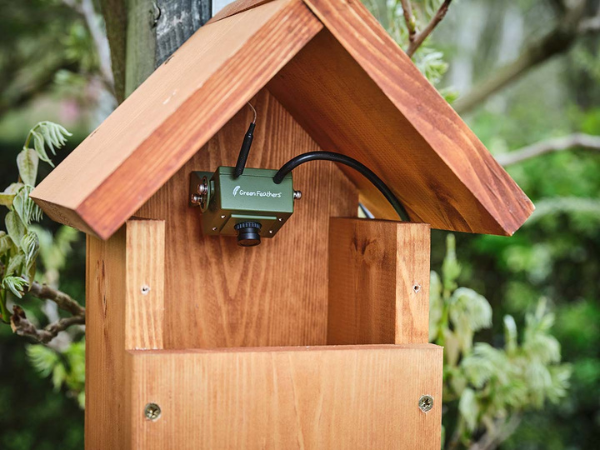
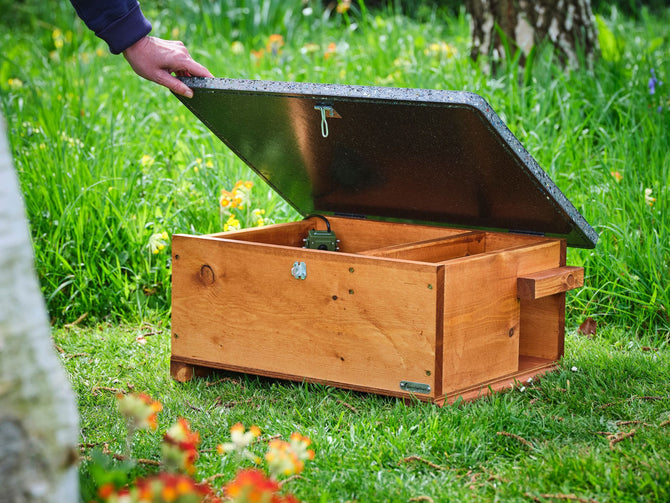
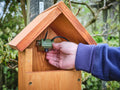
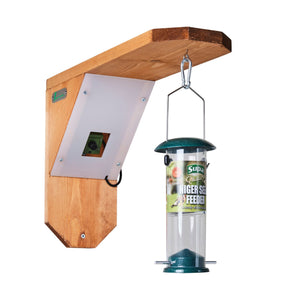
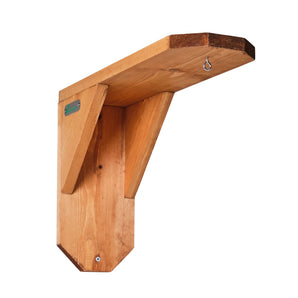
The best type of bird box to use is one with a removable roof as it makes it a lot easier to mount the camera. Bird box cameras come with secure brackets in the box so that you can attach it to the roof of the box; it’s simply the matter of attaching it with a few small screws. Attach the bracket first to the roof of the box, then secure the camera to this with the provided screws.
To improve daytime light levels inside the box to enhance colour images on the camera an LED lamp can be installed that doesn’t disturb the birds.
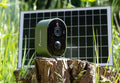
Why do I have to run power cables?
All cameras need some form of power source, as they cannot operate on unicorn pixie dust. While sometimes they can be powered by batteries this is not recommended because battery lives tend to be low and you don’t want to be regularly disturbing the nest box when you are changing batteries. Mains power supplies are the only reliable way of powering the cameras 24/7. This does mean you need to run a cable from the nearest power source to the box. This isn’t always convenient for some, but you can buy power extension cables inexpensively, which can be buried underground and hidden away.

Alternatively, our wired HD IP camera can be ‘powered over Ethernet’, which is where the camera receives power cable from a network data cable. This does require a little bit of know-how but this can be a workable solution.
Getting the best Wi-Fi signal
Especially if you have a larger house and garden, not everyone’s Wi-Fi signal reaches out into the garden. This can prove problematic if you’re installing a Wi-Fi bird box camera. Luckily you can easily extend the range on your Wi-Fi network so that the camera can receive a good signal in the garden. If this is still not a solution, then it’s worth considering wired versions.


Hi there last year I put up a Nestbox complete with a camera this was in November the reason for this was to encourage any birds to visit the box to roost or use the box to nest in early spring. In early March a pair of Bluetits took up residence and started to build a nest. Unfortunately one of them disappeared off the scene and the box was deserted. Maybe this year will be a lucky year for me fingers crossed.